Here is a super quick tip for you today!
Did you know there was a setting that when compiling blueprints with an error, will auto navigate to the location of the problem?
If you would prefer to watch my video version, check it out here
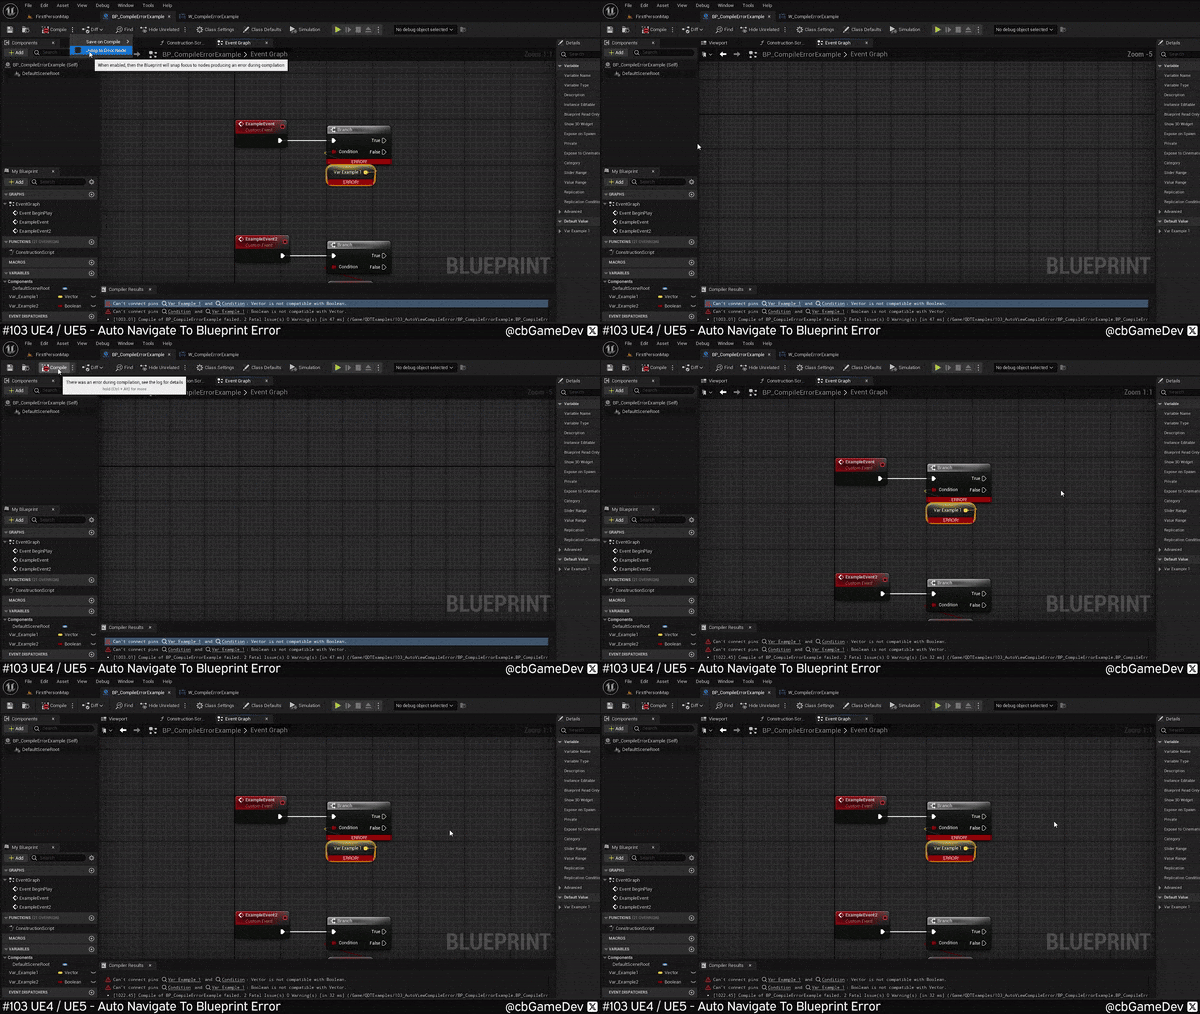
Normally, in a blueprint, if you push compile and there are errors they will be listed in the Compiler Results window. They are shown in text form and you have to click each line manually to go to the actual problems. You can see this in my example below:
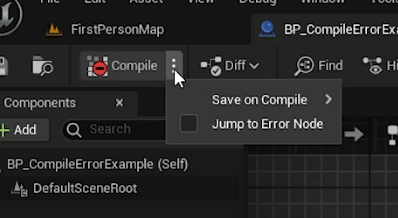
However, there is a faster way of doing this. If we come up to the compile button and click the three dots next to it. We get a little drop-down menu appear, with the option we are looking for: Jump to Error Node.
If we turn on Jump to Error Node, then now, if there are errors when we compile, the event graph will automatically center in on the problem area. Removing the need for those extra clicks, which is cool.
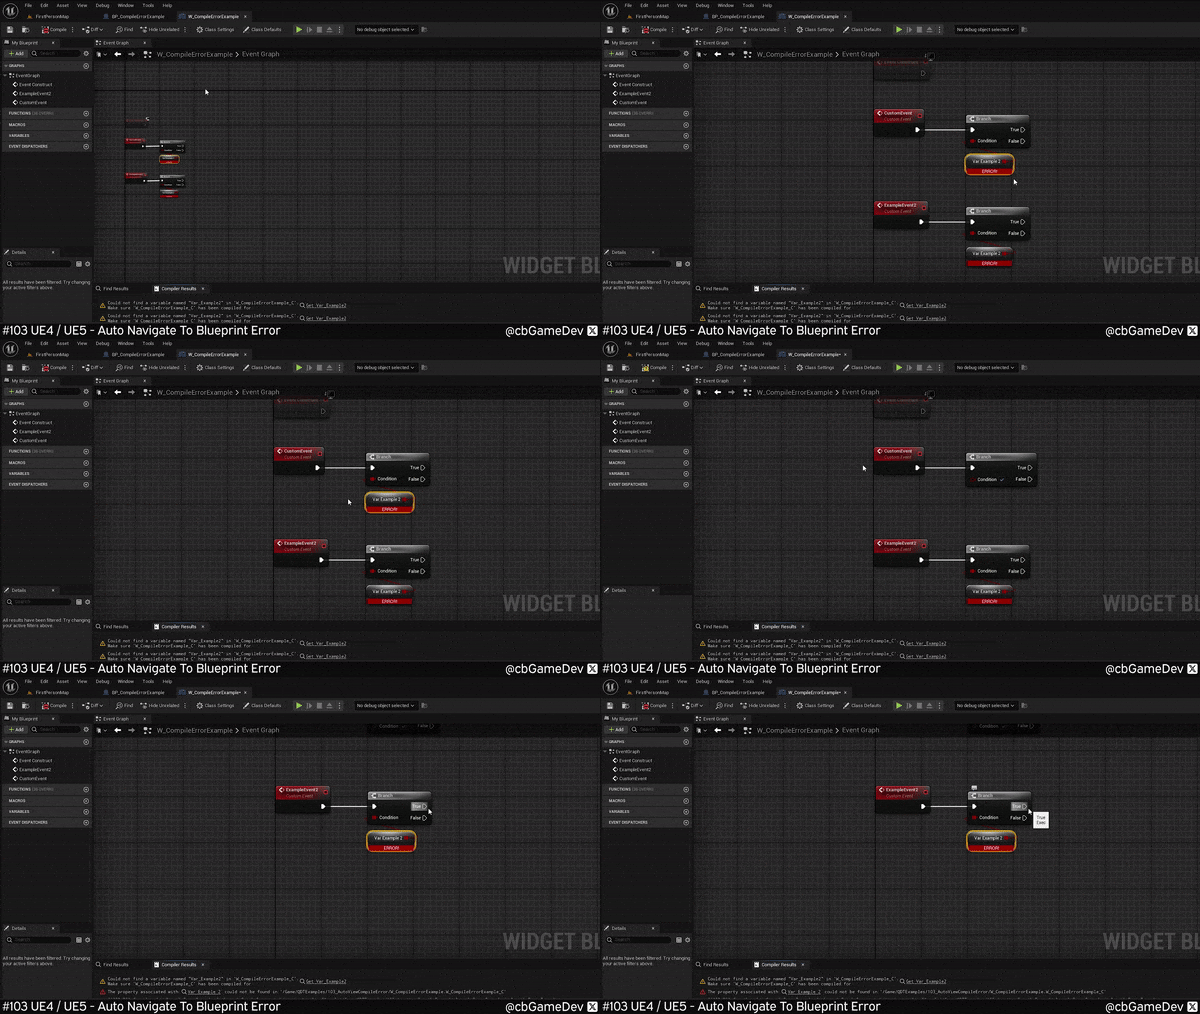
This functionality is persistent across blueprints. So if you turn it on while in a blueprint then when you go to another blueprint or say a User Interface Widget you will see that it is also activated there as well. It's also great because it will work its way down through an error list, so if you fix a problem the next time you compile it will just center-in on the next problem.
If you are still working in an Unreal Engine 4 project, no problem, it works exactly the same there as well.
So in my small example above it's kind of obvious what and where the problem is, but this tip is far more useful when you are working with more complicated blueprint event graphs. This really is one of those small tricks that will save you time over time.
If you want more quick tips & tricks FOLLOW ME ON TWITTER @cbGameDev
Also, check out the games I'm solo developing on Steam & Itch.io


